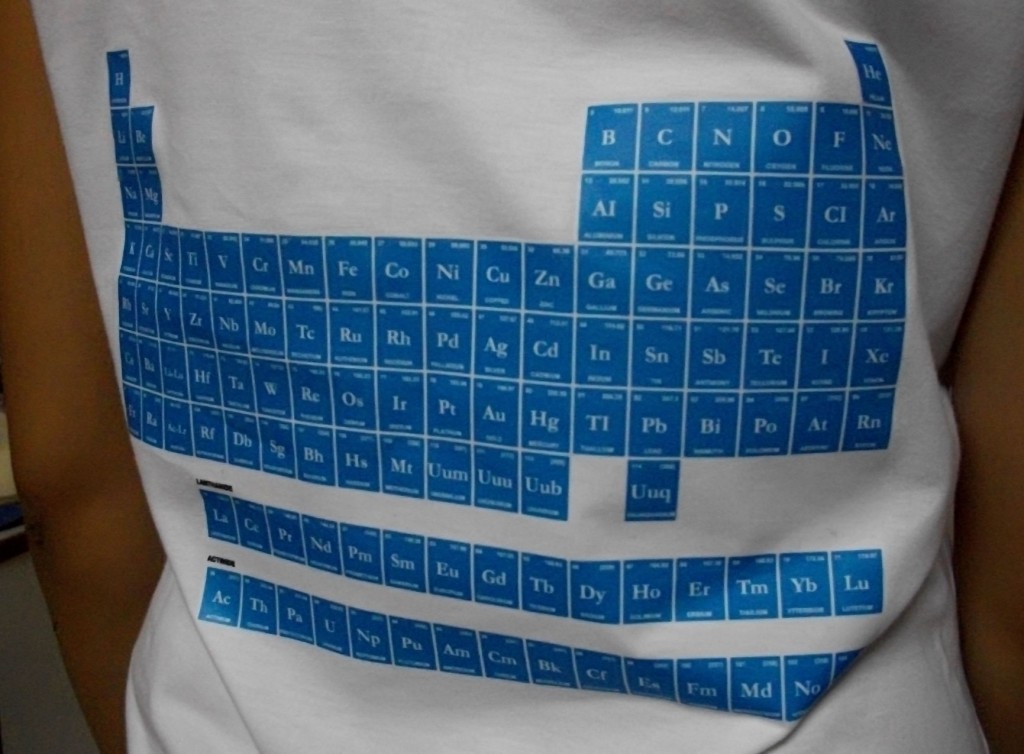
A special tshirt transfer paper allows you to transfer your images (printed using an ink jet printer) onto, white or light coloured tshirt. Below are the steps and important notes for printing on tshirts using a transfer paper.
Please see that the image you want to print is of good quality and not blurred. Printing is done in mirror mode onto the white, unprinted side of the transfer paper. In many printers there is an option for Transfer Paper Mode, if its not available in your printer use the Normal Paper Mode but use Best Quality Printing. I would suggest to allow the printout to dry for about 30 minutes before continuing.
Set your iron to the highest setting and pre-heat.
Cut out the image with approx. 5 mm space and place the paper with image side face down on the tshirt fabric which should be wrinkle free and pre-ironed.
Place a smooth cloth (2-3 kitchen towels) between the tshirt and the solid surface such as a table top.
Iron the image by applying consistent circular pressure distributing the heat evenly.
Concentrate on using the centre of the Iron during transfer. Apply heat for 60 to 90 seconds for a small print and about 90 to 120 seconds for a larger print.
Let the transfer paper cool and peel off the interleaving paper from one of the corners using firm and steady pressure.
A heat press can also be used. Set the temperature to 160 degree and press for approx. 40 seconds. I have not tried this with a heat press yet.
Here is the tshirt which I did using the method.


Well the idea is great, but finding the paper si the most difficult task.